
Did you know that Italy receives over 65 million tourists annually, making it one of the world’s most visited countries? Yet, thousands of visa applications get rejected every year simply because people don’t know the proper process!
Getting an Italian visa doesn’t have to be complicated if you know what you’re doing.
Whether you’re planning a romantic getaway to Rome, a business trip to Milan, or dreaming of that perfect Tuscan vacation, this guide will walk you through every single step
By the end of this article you will know all about how to apply for an Italy visa.
Types of Italy Visas
Italy offers different types of visas depending on your reason for travel. The main categories include:
Short-Stay Visa (Schengen Visa – Type C): Valid for up to 90 days for tourism, business, or family visits.
Long-Stay Visa (National Visa – Type D): For those planning to stay more than 90 days for work, study, or family reasons.
Work Visa: For non-EU nationals who have a job offer or employment contract from an Italian employer.
Seasonal Work Visa: For temporary work, often in agriculture or tourism.
Family Reunification Visa: For joining family members already legally residing in Italy.
Student Visa: For pursuing studies at an Italian institution.
One thing that really caught me off guard was the biometric appointment requirement.
You can’t just mail everything in anymore – you physically have to show up at a visa application center or consulate. Plan for this because appointments can book up weeks in advance, especially during peak travel seasons.
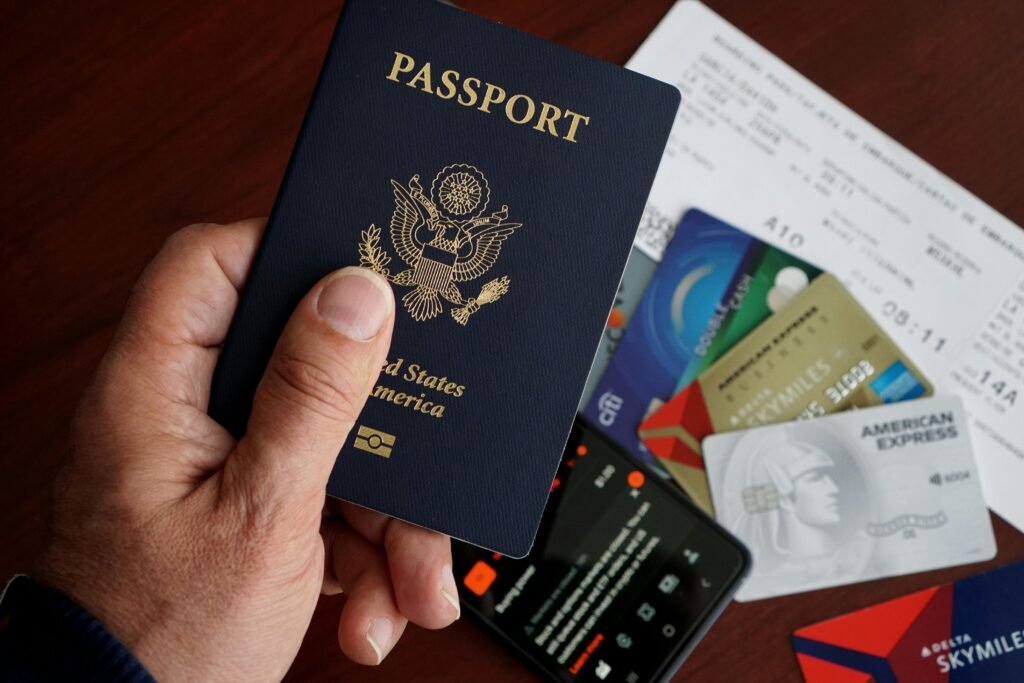
Essential Documents You’ll Need
Okay, this is where most people either nail it or completely bomb their application.
First up: your passport. Sounds obvious, right? But it needs to be issued within the last 10 years and have at least two blank pages.
Next, you’ll need passport-sized photos that meet specific requirements. The photo specs are ridiculously particular – 35mm x 45mm, white background, no smiling (seriously!), and taken within the last 6 months. Don’t try to be clever and use old photos. They can tell, and it’s an automatic red flag.
Travel insurance is non-negotiable. It must cover at least €30,000 in medical expenses and be valid for your entire stay. I always go with providers that specifically mention Schengen coverage. Trust me, it’s worth the extra few euros for peace of mind.
Proof of accommodation used to stress me out until I figured out the system. Hotel reservations work great, but if you’re staying with friends or family, you’ll need an invitation letter plus proof of their residence. Airbnb confirmations are totally acceptable too – just make sure they’re official bookings, not just screenshots of listings.
The financial proof part is where things get real. You need to show you can support yourself – roughly €27-30 per day of your stay. Bank statements from the last 3 months work best. Pro tip: don’t make any large, unusual deposits right before applying. It looks suspicious and they will ask questions.
Step-by-Step Application Process
Here’s the actual process, step by step, based on my personal experience and helping others navigate this maze.
Step 1: Determine your visa type and consulate This seems simple but gets complicated fast. You don’t necessarily apply at the consulate closest to you – you apply at the one that serves your specific area. I live in Chicago, but technically had to apply through the consulate that covers Illinois. Do your homework here!
Step 2: Gather all documents Use the checklist I mentioned earlier. I recommend creating a physical folder and checking off each item as you collect it. There’s something satisfying about physically marking things complete, plus it prevents that 2 AM panic of “Did I remember the travel insurance?”
Step 3: Book your appointment This is where patience becomes your best friend. During summer months, appointments can be booked 3-4 weeks out. I always book mine the moment I’m sure about my travel dates. Most consulates use online booking systems now, which is way better than the old phone system.
Step 4: Attend your appointment. Show up 15 minutes early, bring everything in the exact order they specify, and dress nicely. I know it sounds silly, but first impressions matter. They’ll review your documents, take your biometrics (fingerprints and photo), and collect your fee.
Step 5: Wait for processing Standard processing is usually 15 calendar days, but it can take longer during busy periods. Some consulates offer expedited processing for an additional fee. I’ve used this twice when I had last-minute business trips – totally worth it when you’re in a crunch.
Step 6: Collect your passport You’ll either pick it up in person or they’ll mail it back to you. Always check the visa details immediately! I once caught an error in my travel dates that would’ve caused massive problems at the airport.
Common Mistakes to Avoid
Let me save you from the mistakes I’ve made and witnessed others make. These are the big ones that’ll tank your application faster than you can say “ciao.”
Mistake #1: Incomplete or incorrect forms Fill out every single field. If something doesn’t apply to you, write “N/A” instead of leaving it blank. I’ve seen people get rejected for leaving their middle initial off when it was listed on their passport.
Mistake #2: Insufficient financial proof Don’t just show the minimum required amount. I always recommend showing 20-30% more than the minimum. It demonstrates you’re financially comfortable and not cutting it close.
Mistake #3: Booking non-refundable flights before visa approval This one hurts. I watched a friend lose $800 on flights when his visa got delayed. Book refundable flights or wait until you have your visa in hand. The few extra dollars for flexibility are worth it.
Mistake #4: Providing inconsistent information Your application, hotel bookings, and interview answers need to match perfectly. If you say you’re staying 10 days, your hotel booking is better for 10 days. Consistency is key.
Mistake #5: Applying too late. Don’t wait until the last minute. Apply 3-4 weeks before your travel date, minimum. Rush applications are more likely to have errors, and if something goes wrong, you’ll have no time to fix it.
Processing Times and Fees
Let’s talk about money and time, because both matter when you’re planning a trip.
Standard processing fees vary by nationality and visa type, but expect to pay around $80-100 USD for a tourist visa.
Processing times officially range from 5-15 calendar days, but here’s the reality: during peak season (June-August), it can take longer. Christmas and summer holidays can slow things down significantly.
Expedited processing is available at most consulates for an additional fee. I’ve used this service twice and it’s been worth every penny when I had tight deadlines. You’ll usually get your passport back in 3-5 business days instead of the standard timeframe.
Here’s something most people don’t know: if you’re applying for a multiple-entry visa or longer-term visa, processing can take up to 30 days. Factor this into your planning, especially if you’re doing business or study visas.
Payment methods vary by consulate. Some only accept cash, others take credit cards or money orders. Check their specific requirements before your appointment because showing up with the wrong payment method is a guaranteed way to reschedule.
Tips for a Successful Application
These are the insider tips I’ve learned through experience and mistakes – the stuff they don’t put in the official guidelines.
Be over-prepared, not under-prepared. I always bring extra copies of everything. Documents get lost, copies get smudged, and having backups saves the day. I once had my bank statement’s pages get stuck together, and having a backup copy meant I didn’t have to reschedule.
Dress professionally This might sound superficial, but appearance matters. I’m not saying wear a three-piece suit, but clean, neat business casual shows you take the process seriously. I’ve noticed people dressed professionally tend to have smoother interviews.
Be honest and consistent If they ask about your employment, don’t exaggerate your job title or salary. They can verify information, and getting caught in a lie is an instant rejection. Honesty builds trust, even if your situation isn’t perfect.
Prepare for the interview Most tourist visas don’t require extensive interviews, but be ready to answer basic questions about your trip. Know your itinerary, why you chose Italy, and how long you plan to stay.
Follow up appropriately If your processing time exceeds the stated time frame, it’s okay to follow up politely. Don’t be pushy, but a respectful inquiry shows you’re organized and concerned about your travel plans.